
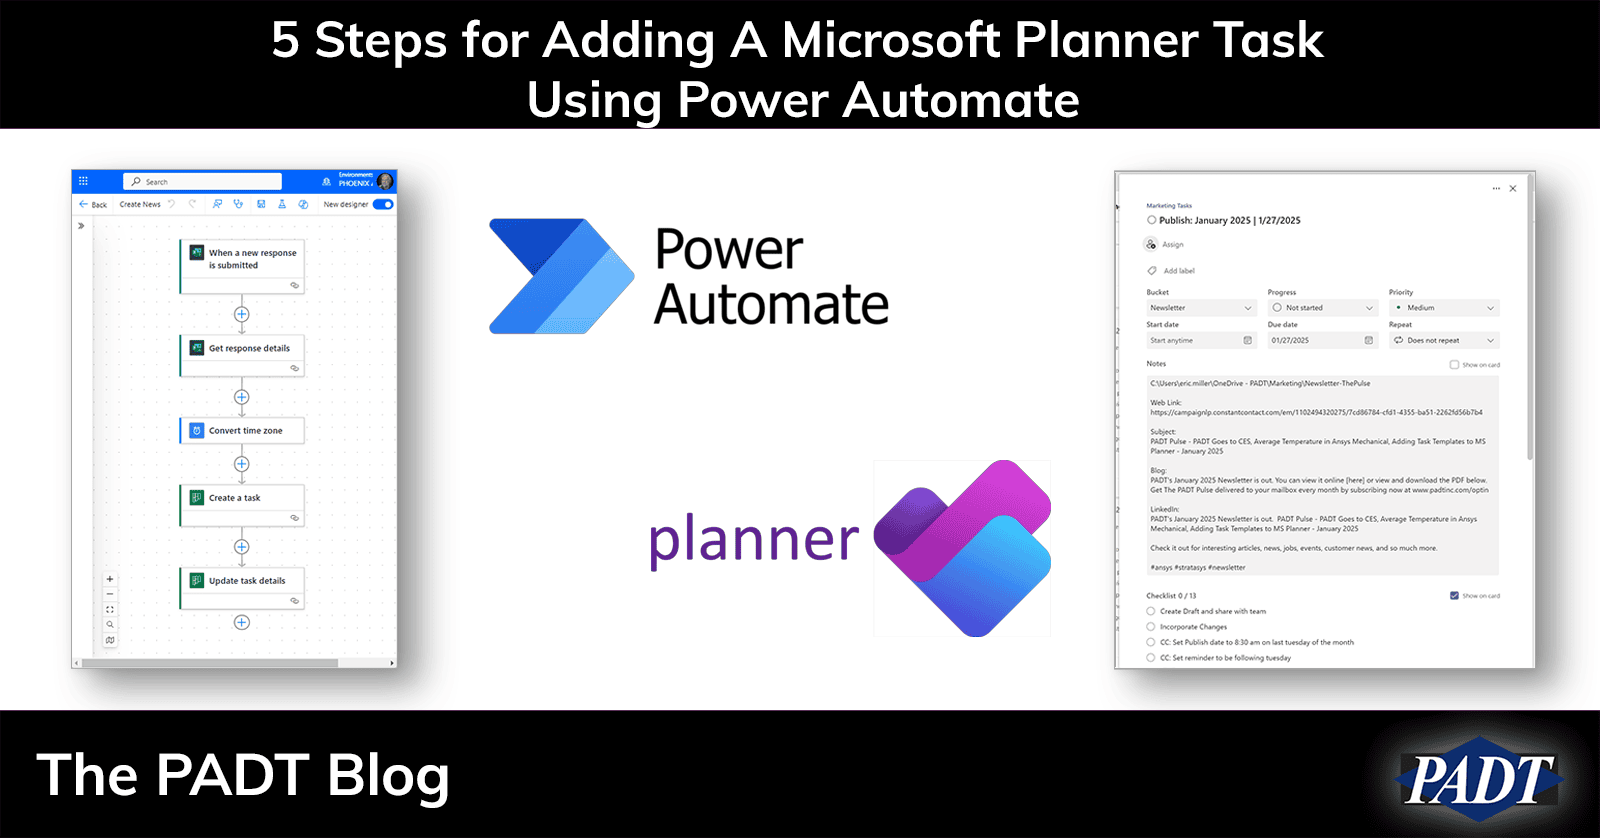
I’ve been using Microsoft Planner to manage the chaos that are my various tasks here at PADT. And even though there are a lot of changes I would make to it, in general, it works well. One big hole in the program is that it doesn’t have templates for tasks. You can make a template for a plan but not for a given task. For a while, I just created a task and then copied them when I needed them, but that just bothered me.
So, when Microsoft doesn’t give you a feature, they do give you Power Automate. The particular tasks I wanted templates for were processing some of our project accounting when purchasing, receiving, and getting invoices from vendors or getting POs from and invoicing customers. I made a Microsoft Form where I could pick the transaction I wanted and had that trigger a flow that created the task I needed in my Vendor/Customer transaction plan in the proper bucket.
It’s a bit of a beast, as you can see in the image below.

So, for this post, I’m going to share a simpler form and flow that I use to create the tasks I go through when I promote our newsletter, The PADT Pulse. Below, you will find a step-by-step tutorial on creating a flow that creates the task. A zip file with the flow is at the end.
Step 1: Define what you want in your Planner task
The first thing we need to do is create what we want our task to look like. Here is what I came up with:

I use a lot of abbreviations that don’t really matter, they make sense to me. Some key things to note are:
- All sorts of important information about this particular issue is in the task:
- Link to web version
- Subject line
- Issue Month and Year
- Publish date
- Text for LinkedIn and the Blog
- I assign the task to me, put it in the newsletter bucket, and set the due date to the publish date
- I’ve got some useful text in the Notes section
- The important part is the checklist
Important note: Planner is evolving and for this flow to work, you have to create a Plan that belongs to a group. If you didn’t specify a group before, the group was the same as the Plan name. Now you need to create a Team in Teams and create the plan under that Team.
Step 2: Make a Microsoft Form to Get Information and Trigger the Flow
This is fairly straightforward, nothing special in the form. We want to get all the information specific about this issue so we can fill out the task and avoid having to hunt all over for the info. Here is how I made my form:
- Go into forms.microsoft.com and click “New Form”
- Put: “Create Newsletter Publish Task” as the title and choose Text for the first question.
- Question 1: Enter Issue: Month Year
- Add a new Question, Date
- Question 2: What is the publishing date?
- Add a new Question, Text
- Question 3: What is the subject line?
- Add a new Question, Text
- Question 4: What is the web link?
That is it. You can change the style and such if you want. Here is what it looks like filled out:

Step 3: Start Making the Microsoft Flow in Power Automate: Create and Set up Trigger
In this step, we will create the flow, connect it to the form as a trigger, get the data from the form, and test that.
- Go to make.powerautomate.com and click “+ Create” on the left menu
- Under “Start from blank” choose “Automated cloud flow”
- Enter “Create Newsletter Publish Task” as the Flow name
- Click on “When a new response is submitted in Microsoft Forms”
- Click on Create
- It starts with “Invalid parameter” Don’t panic. It needs to know what form you are triggering from. Click on the box then a form shows up on the left.
- Choose “Create Newsletter Publish Task” from the dropdown.
- Click the + in a circle and choose “add an action”
- Choose “Microsoft Forms” to get forms-related actions
- Chose “Get response details” This pulls the data from the form into the flow for access
- Click on the action to get the form for the action
- Choose “Create Newsletter Publish Task” from the dropdown
- For Response ID, enter a / to get a list of the available options, and pick “Response ID”
- In the upper right, click “Save”
- If you do everything right, the “Test Button” will be clickable. Click it. Click Test. Fill out your form and submit
- When you go back to your flow, ti should have green checkboxes, like below.

Step 4: Fixing Date and Create Task
Before we start creating the task we have to deal with the fact that times are stored in Universal Time in Power Automate. So if you have to convert your time into your local timezone. Note, we can avoid this by using text for the “Publishing Date” in the form, but then we can’t set the due date 🙂
To get the date in local time, use a “Convert time zone” Action:
- Click the + and choose “Add an action”
- Type “time zone” into the search and click the action
- For “Base time” click the lightning bolt and pick the “What is the Publishing Date”
- Leave “Source time zone” as UTC
- Set the “Destination time zone” to your time zone.
- For time unit, pick “Short date pattern [d]”

The next step is to use the information from the form to create the task. We will add more information in the next step.
- Click on “Edit” in the upper right get back into edit mode
- Click on the plus under “Get response details” and choose “Add an action”
- Choose “Planner” from the list
- Choose “Create a Task” Don’t pick the preview version.
- Click on your new action and fill out ther form
- Pick the team your plan belongs to for “Group Id”
- Pick the plan where you want to place the task for “Plan Id”
- For Title, enter “Publish:”
- Click the lightning button and pick “Enter issue:…”
- Type ” | ”
- Click the lightning button again and choose “What is the publish…”
- This creates a string for the title with the values you put in the form
- In the “Advanced Parameters” dropdown choose “Bucket Id” and “Due Date Time”
- Pick “Newsletter” for the bucket
- For “Due Date Time” click the lightning bolt and choose “What is the publish…”

- Save and correct any errors
- Click Test
- Click “automatically” so you don’t have to fill out the form again
- Choose “with a recently used trigger”
- Click the last test
- Click the Test Button
- You should get all green checks!
- Check your plan, you should have
Here is what our task looks like. Yay!

Step 5: Add Notes and Checklist with Update Task Details
For whatever reason, they don’t let you set all the values in a new task in the creat action, you have to use the “Update task details” action to do that. So let’s do it.
- Get back in edit mode
- Click on the plus under “Get response details” and choose “Add an action”
- Choose “Planner” from the list
- Choose “Update task details”
- For “Task id” click the lightning bolt and choose the Id for the task you just created
- It may not be in the drop down, so click “See more” next to “Create a Task” to get the full list.
- Chose Id
- For the “Description,” which is actually “Notes” in the task, take your sample text from the task you hand made and paste it in.
- Replace the link with lightning bolt, “What is the web link”
- Replace the Subject text with lightning bolt, “What is the subject line”
- Replace the “Month Year” under Blog and LinkedIn with lightning bolt, “Enter Issue: Month Year”
- Replace the demo subjec tline for the LinkedIn text with lightning bolt, “What is the subject line”
- Here is what the form looks like

- Save and test
Next we are going to use the same “Update task details” action to add our check list.
- Get back in edit mode
- Click on the “plus under “Get response details” and choose “Add an action””Update task detail” action to get the form back.
- Under “Advanced parameters” choose “Checklist”
- Now comes the part where you wonder if using this flow actually saves time… but remember, you only have to do this once. It’s a pain because you have to provide an Id, the text for the to-do item, and set the flag to false.
- For “Id – 1” enter 1
- For “Title -1” copy and paste the first item from your checklist in “Create draft and share with team”
- For “Checked -1” set ti false
- Click Add new item
- Repeat for each item in your checklist
- Save and Test
Here is what the form looks like when filled out. Note, at this release there is a bug and even though you set the “Checked” to False, when you go back it shows blank.

A Nice Planner Task With All The Info
And that is it. I could make it a bit better by adding a person to the form that gets assigned the task. I could also add a start date.

I’m not sure how much time this really saves… but I like it. I put the forms for these on a SharePoint page.
Here is a link to the MS Flow package as an example:
Here at PADT, we are all about the right solution for the right problem, and often, that right solution is a flow in Microsoft Power Automate. If you have any engineering needs, maybe, reach out to us and have a chat with our engineers.


You must be logged in to post a comment.